OK! So here's the goal! We used Valspar's "MAN CAVE" for the bottom wood color. Matches really well to this picture. (and the name makes it hard to pass up!) And we used Olympic's "Skyhigh" blue- for the top....again, matches perfectly to this picture! (And yes, I want this bedding! but it's pricey! we'll see.....)
My wonderful, dedicated, husband, and our baby's father... measuring out the walls for the wood molding we're putting in today!
A few weeks ago, I just got a "head start" and taped off the baseboards and such. Today we decided to paint the baseboards the same color as the molding, so I have to re-tape off the edges. The left side tape is the *NEW* placement for the tape. The left side is what I had to take off.
Thank goodness this room is small!!!
There is probably a better way to paint baseboards...we're still unsure if we're replacing all our carpet, or just the stuff in the hallway...so I'm being careful just in case.
This should be interesting.
We added tiny molding for the 3/4 inch 90 degree angle on top, so the panels we're adding that are just under an inch thick, won't stick out too much against the baseboards.
We've owned this compressor/nail gun set from Lowes for about a year now, we loveeee it! (I think it was $99)...which is worth it if you plan on using it for more than one day. Rentals are expensive, and most of the time they're complicated to use.
Here's how the baseboards look. Remember, we are about to paint them, so the joints will look much better.
Here's what it looks like so far!
(with orange wood putty in the corner, of course)
More or less, this is what it will look like, just sanded, painted, and nailed in place.
Me & Tate (19 weeks pregnant)
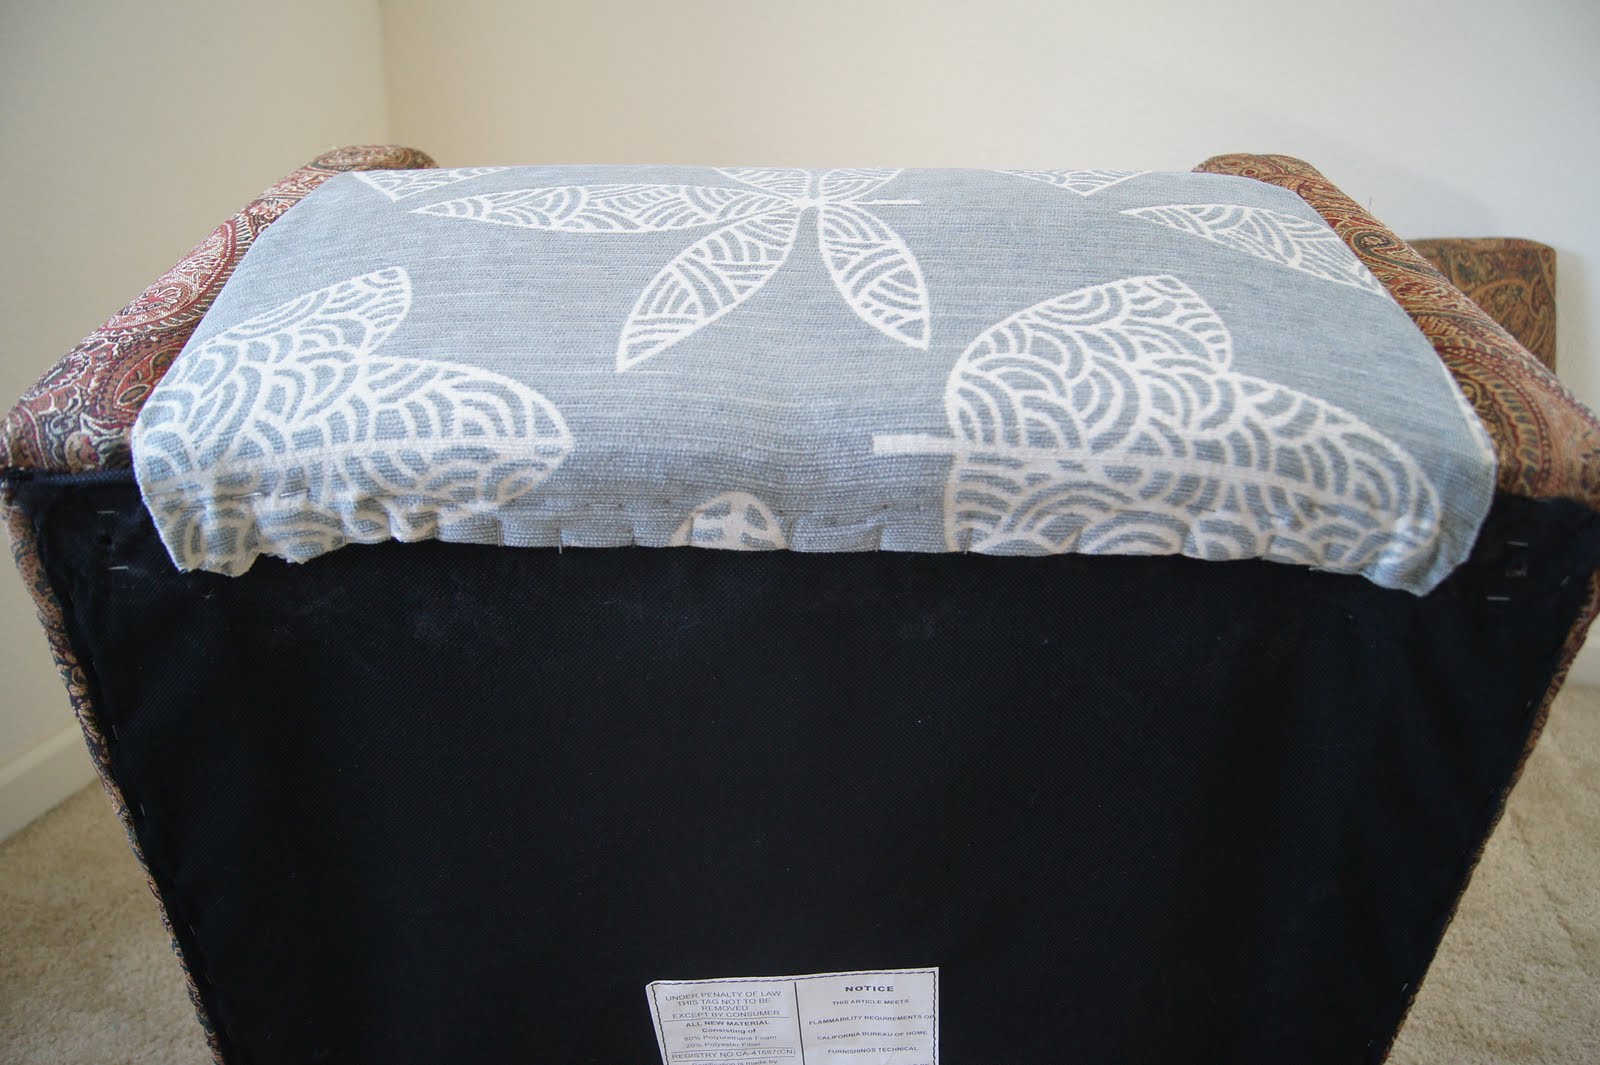
The Jack & Jill bathroom, don't mind the laundry hamper :)
The lighting stinks, but it's a grey :)
We feel the blue really makes this a nursery :)
Here's how the money broke down for this project:
Woodwork COST:
One 10 foot wood panel: 1"X 5 1/2" X 10'= $7.00 (We used 11)
+
One 8 foot wood panel: 1" X 5 1/2" X 8' = $5.00 (We used 2)
+
One 8 foot baseboard panel addition = $2.99 (we used 4)
+
Nail gun (Already had it.)
Nails (Already had it.)
Wood filler (Already had it.)
Sander & Sand Paper (Already had it.)
=Wood total: $99.00
_____________________________________
Paint Cost:
Two gallons of paint (One grey Eggshell finish, One blue Eggshell finish) = Roughly $60.00
+
Two tray liners = $2.00
+
One Roller-edger = $3.00
+
Two extra wool rollers (We already had it.)
Blue Painter's Tape (We already had it.)
Plastic drape for carpet cover (We already had it.)
= Paint total: $65.00
So....
_____________________________________
Total for entire Project:
$180 including tax! :)
Honestly, throughout this entire project, we kept saying things like "I can't believe how professional this is turing out....This is so easy!... I can't believe it was under $200 to do..."
AH! We're so excited over here!
Be Blessed!
The DIY Wifey,