Gold at the Goodwill! MAKEOVER!

Here I go again!
On an "errand run"....I just H A D to stop by the Goodwill...
knowing it is mid-week (Wednesday) & the weekend-er's haven't had the opportunity to snatch anything yet, I had to stop by!
I'll start with the "AFTER"...then work my way backwards to the "BEFORE!"

AFTER!
What do you think?


Yup, that's my hubby in the back!
Isn't the detail in the rim just GORGE????? :)
I get this sigh of relief when I realize I just found GOLD at the GOODWILL!


After two layers of Stripping gel (ouch!) we found fake wood, so it scrubbed off with a rough sponge and a wet wash cloth...and a dedicated Husband's help!
DISTRESSIN' AWAY!!!! Ahh! I love this hammer!
For a short while, we thought it was a lost hope!...here's the top of the dresser being "stripped"...
The hardware was too small & round for my spice rack spices to lift it off the ground. So instead, I just sprayed it, then rotated it and sprayed more!...metal finish! :)


The Pups!

The wonderful hubby getting ready to strip the top of the dresser!
(Remember we are working our way backwards with the pictures this time!)
What I used....
Me!...Eagerly starting out!

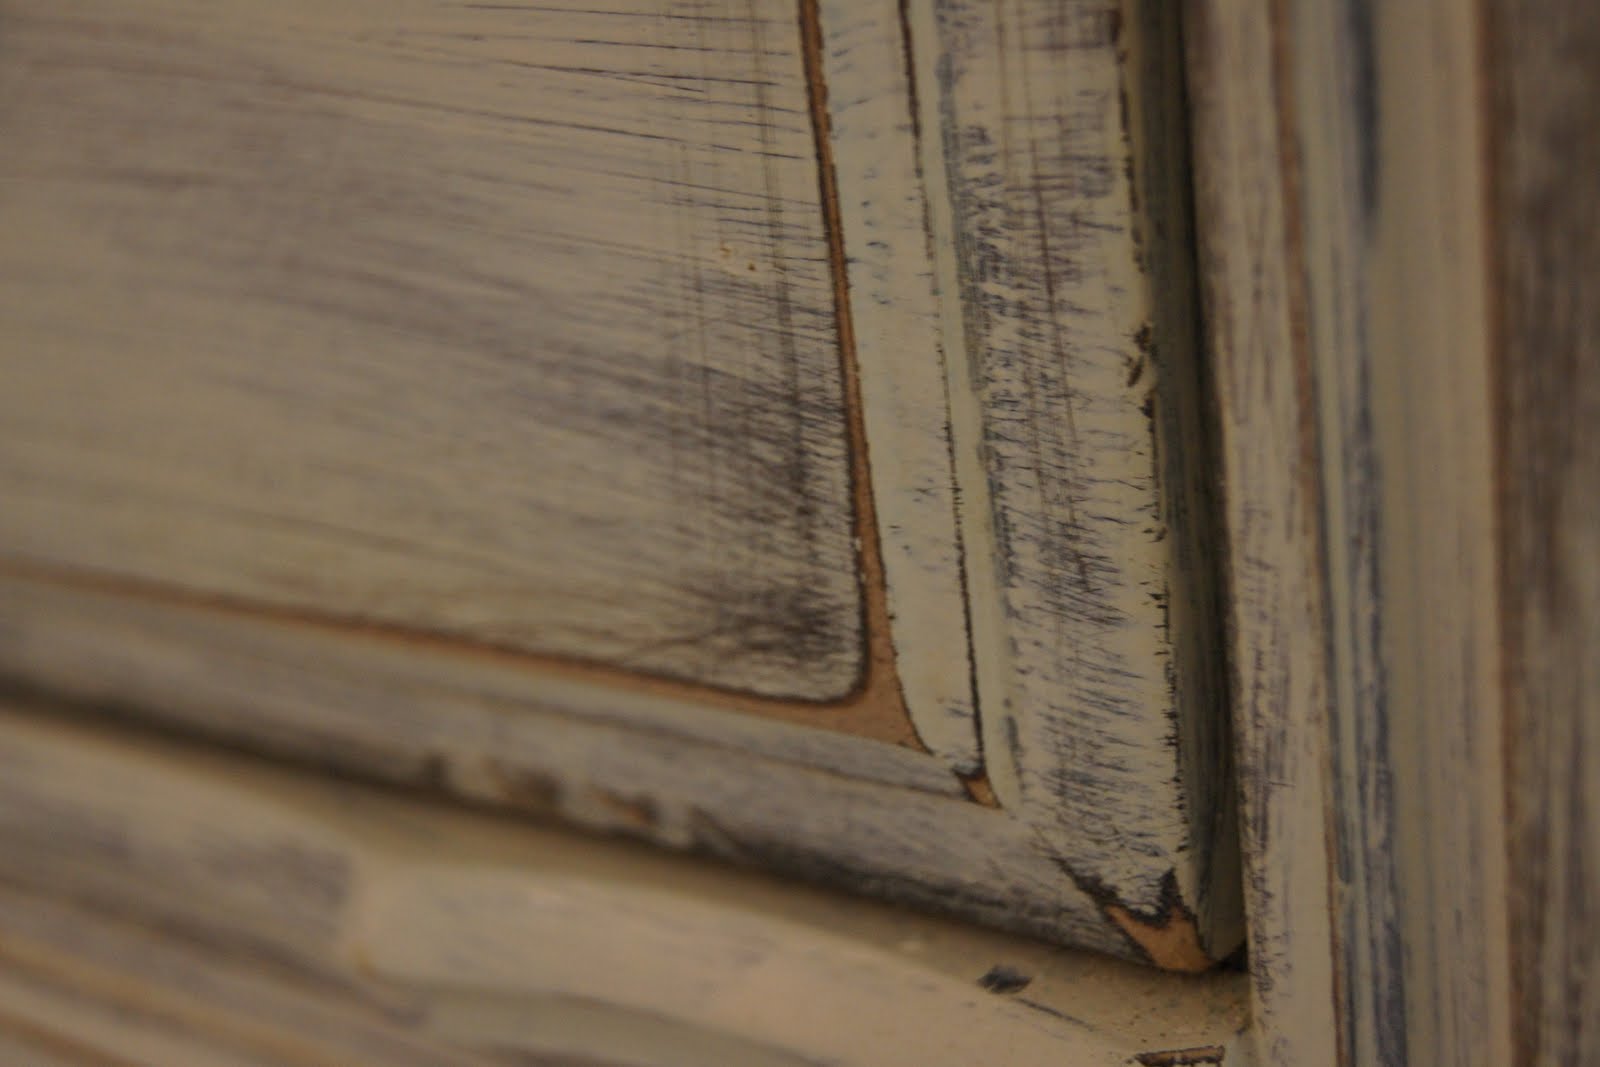
Don't you Just L.O.V.E. The moulding?

BEFORE. ewe.

Be blessed!!!
~Brittany
The DIY wifey

Linking with:

Wall Art Decor!

Happy Saturday!
I'm at it again, I couldn't keep away from some sort of art project for too long! :)
(Scroll down to see the finished art project!)
Remember my patient pups?...They're back!!
{...2 dogs sleeping + 1 cat yawning = 3 good furry kids}
This is a self portrait I did of myself on an important day in my life, a few years ago.
It was the first day I spoke with my birth father.
Overwhelming to say the least, so I painted instead of journaling or talking about it.
Can you decipher it? I can't! ...man, emotions are complex!
my painting...continued
I just used acrylic & paint thickener, and my fingers for the black.
So this is my art project today!...I decided this wall is too empty! So I free-hand-ed a bible verse. I just went on Microsoft Word for a font that I liked, then I made the capitol letters a different font because I liked the formality of the capital letters' calligraphy. Then, I just penciled it. I recommend using a great eraser,
...not the pink tiny thing on an #2 pencil for SURE!
I used blue wall-safe tape for the straight lines, then I just un pealed it when I had letters that went above or below the lines. My favorite letters that turned out were the "h" in "that" and the "6" in 46:10. It turned out exactly like a vinyl or a stencil and you wouldn't believe how easy it was!

I used cheap-o paint, "Olympic Interior Latex Flat"..its a charcoal grey
I work from left to right because I'm right handed, and impenitent, have I mentioned that?! :)
I did this because I like to be able to see the finished product as I'm working. Flat paint dries really fast too! :) So, as I worked, I peeled off tape and waited for it to dry, then I used my RUBBER ERASER to ears over the letters so NO pencil showed!...HINT: If I were to do this while any wet paint was around the letters, the lint chunks of eraser would get stuck in the wet paint. So, I wanted a section to dry all at the same time...is that too complicated? I tried my best to explain it! :/


Wah-lah!
What do you think?
*the dark spot on the door molding is just lead from my hand &
I forgot to erase it before taking a picture, but it came right off
Be blessed!
~Brittany
The DIY Wifey

Linking with:
Funky Junk's Saturday Nite Special
Join  us Saturdays at tatertotsandjello.com for the weekend wrap up     party!

Photobucket

Dresser Makeover; De-stressing by Distressing!


Hi everyone!
Here's how I'm making my house a home this week.
God calls us to be stress free, worry free and rely on him and the gifts he's given us...well, that's what I did this week!
Goin' back to my roots as an artzy gal who loves to serve my family and make my home sing by being creative and frugal!
So this is what I did...
Its a simple task. Its a stress-relieving task.
And, (sigh) it doesn't really require deep thought.
Just GO for it! That's my motto!

This is what we started out with: A $99 Dresser, on sale at Salvation Army for $48!
A steal! Sorry, I didn't snap a shot with all the drawers in! I'm kicking myself!!!!
This is a fairly well built dresser! I feel bad messing with it, but ...lets just say, it was pretty groovy, and not our style.
Lovely feet! ....one of my requirements in finding a dresser was that it had to be lifted off the ground. Simply because I like to vacuum. probably too much. and I HATE that line that the vacuum makes next to furniture, if it's not lifted off the ground. Ok...I'm NOT crazy. I know you know what I'm talking about!
pretty wood. This is why I choose to keep the top stained wood! Beautiful!
....but there is such a thing as too much of a good thing.

This is me...enthusiastically ready to begin! ...I LOVE tasks that I can start, and FINISH in one sitting!!!! Like this one! From start to finish, 2 and 1/2 hours! (blow drying helps dry paint faster!)
The spice rack spice containers came in handy yet again! I used them for multiple other projects, to lift things off the ground, so I can spray paint under, around and above without it sticking to the ground, or my fingers!!!! ...I highly recommend finding something in your house that resembles this idea!

Blahhhh! Black!
Isn't it pretty!!!!

...me, painting away!

...I was figuring out how much I wanted to sand the edges...I like MORE! the more distressed the better!!!!

My patients pup... :)


Man, my animals know the drill!
(look cute, --check--, wait here as mom works for several hours on end, singing and ignoring me, and continue to look cute, --check--...repeat)

AFTER!
...tell me, what do you think?


Be Blessed!
~Brittany
The DIY wifey :)

Linking with: